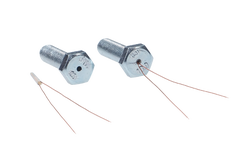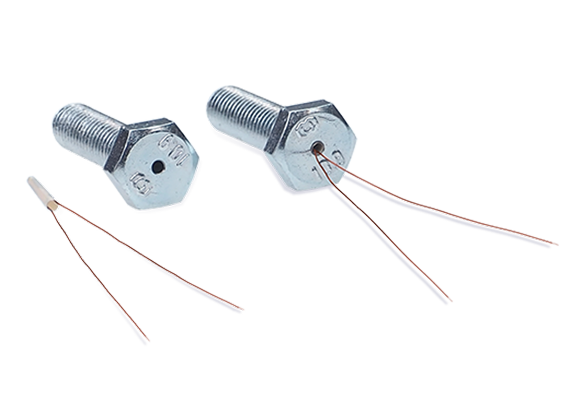
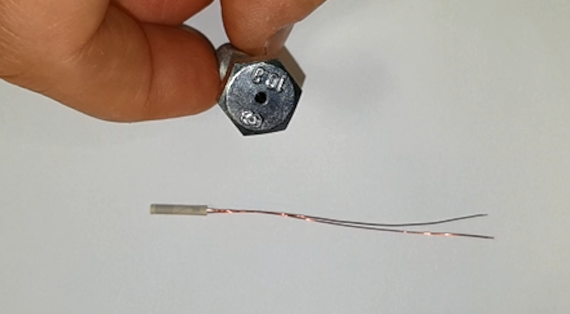

1. In the next step, take out one of the strain gauges from its package.
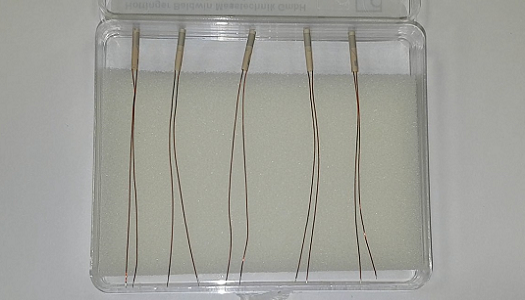
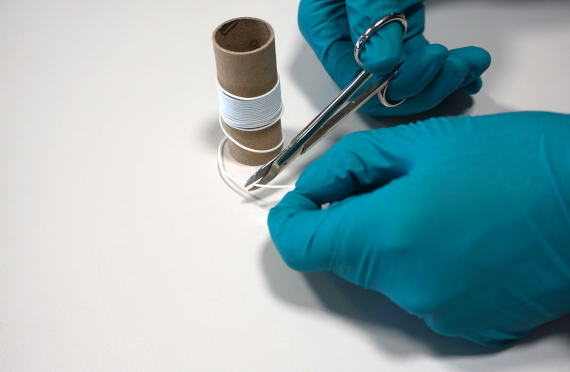
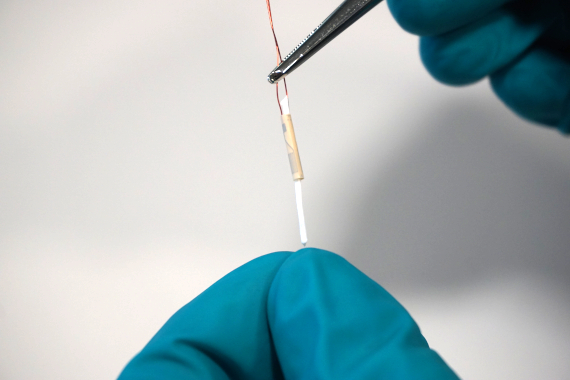
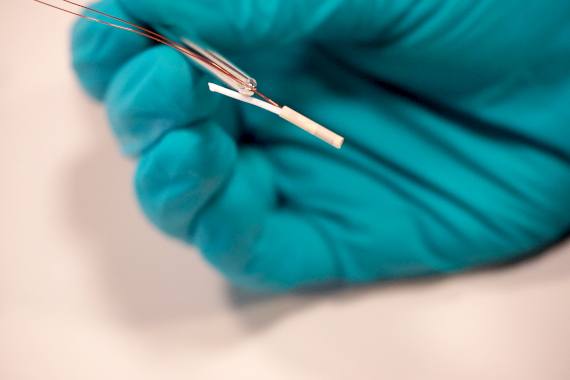
2. Cut an approximately 20mm long piece of teflon cord from the supplied roll with scissors. Grasp the strain gauge at the enameled copper wires with tweezers and insert the teflon cord into the cylindric strain gauge. Place the prepared strain gauge on a clean surface.
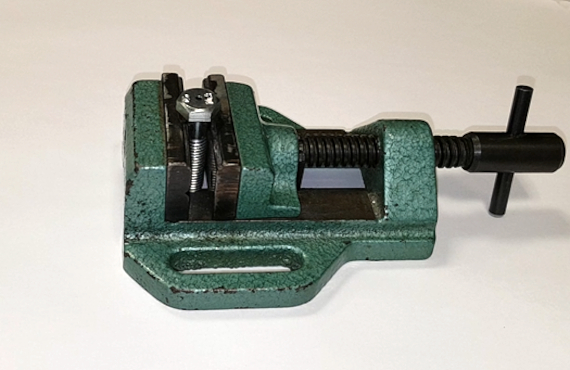
1. A bench vise is helpful to fix the screw during the bonding process of the gauge.
2. Fill a syringe or pipette with EP70 (Order number: 1-EP70). EP70 is an easy-to-handle, hot-curing epoxy resin adhesive especially suitable for applications with cylindrical strain gauges. During all installation steps, the occurrence of air bubbles must be avoided.
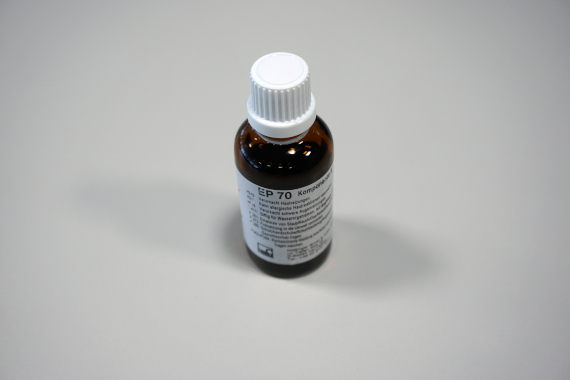
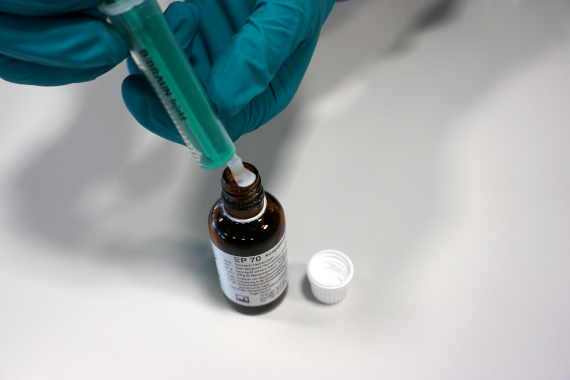
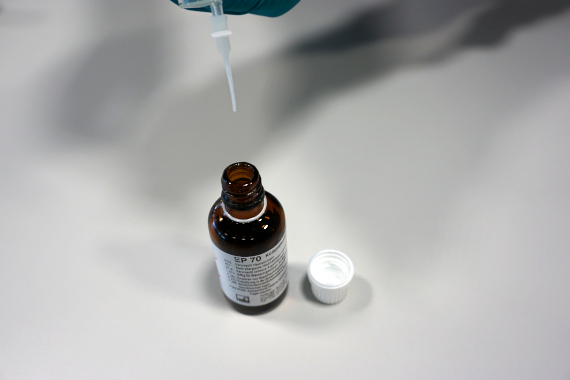
3. In the next step, fill up the predrilled bolt with the adhesive in the syringe. To reduce air bubbles put the syringe tip to the bottom of the drilling before the insertion of the adhesive. When the hole is filled up, pull out the syringe slowly by refilling in parallel adhesive.
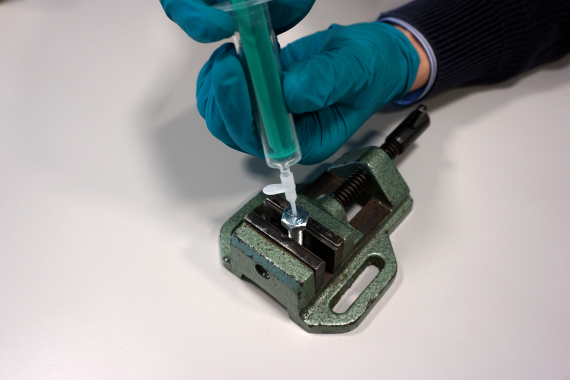
4. Clean the surface on the bolt with cleaning pads from residual adhesive.
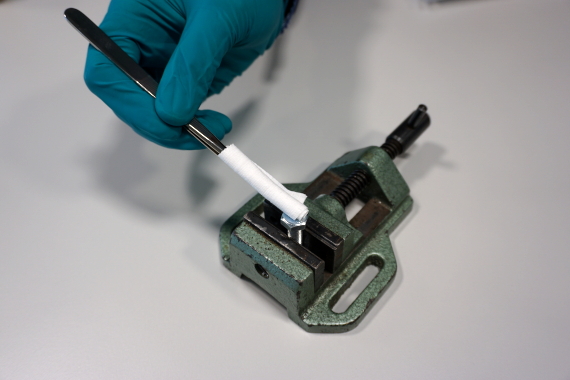
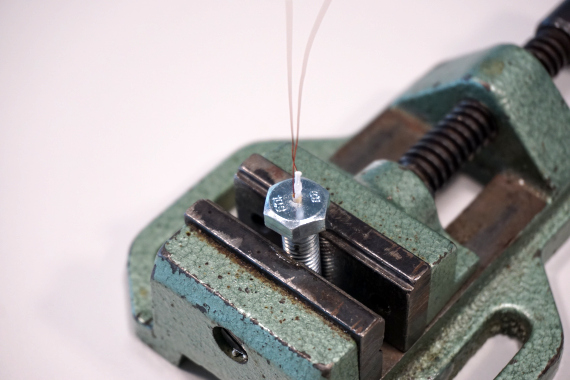
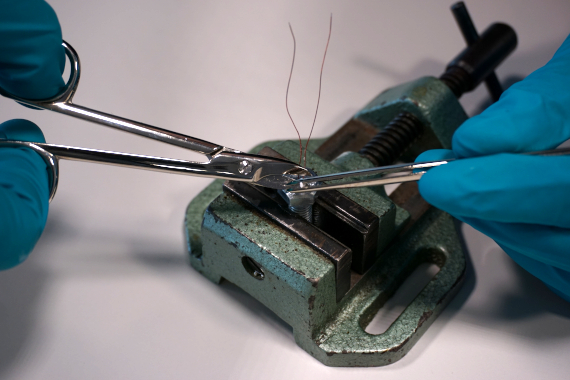
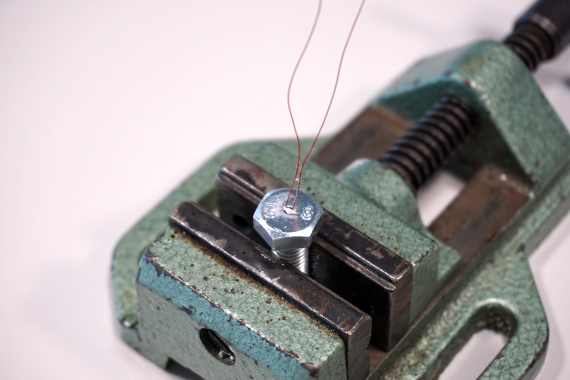
5. Insert the strain gauge in the hole of the screw. Take care not to compress the strain gauge during insertion. The cylindric strain gauge and teflon cord should rest at the bottom of the hole. Loosen air bubbles by slightly moving the strain gauge up and down in the adhesive.

This will bring together HBM, Brüel & Kjær, nCode, ReliaSoft, MicroStrain and Discom brands, helping you innovate faster for a cleaner, healthier, and more productive world.